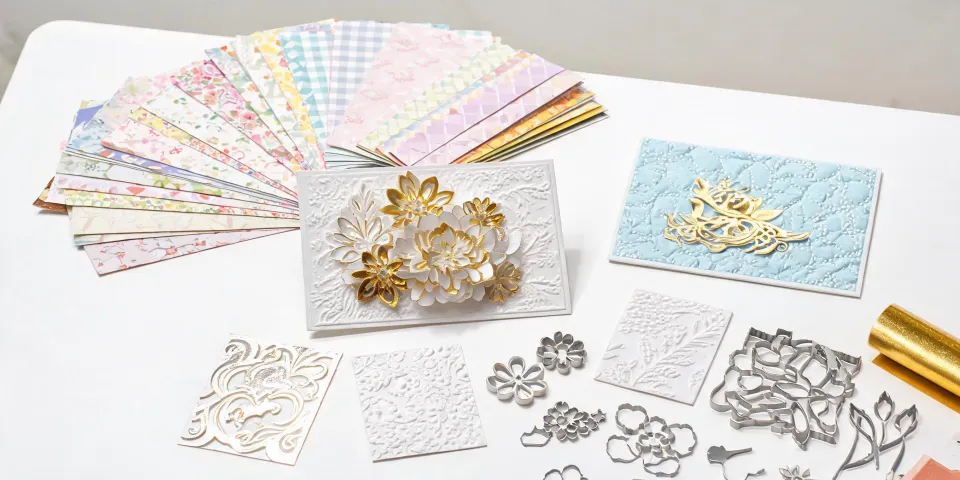
Most buyers think the machine is the solution. I've learned it's just the entry point.
I handle craft consumables and tool procurement for a mid-sized event and gift company. Die cutting machines, specialty papers, dies—you name it, I've ordered it. I've been doing this for six years (since 2018, to be precise). And in that time, I’ve personally made—and documented—about $15,000 worth of completely avoidable mistakes.
Here’s the opinion I’ve landed on, and I wish someone had told me this on day one: Your project's success isn't determined by which die cutting machine you buy. It's determined by how well you understand the materials and the process before you ever place an order.
Most corporate buyers and retailers focus on the machine's horsepower or the brand name—like wondering if a Spellbinders mini die cutting machine can handle a certain thickness. They miss the real puzzle: What kind of paper is used for scrapbooking that won't jam? What cardstock weight actually holds a shape for a holiday figurine? These are the questions that save you money.
My First Big Mistake: The Paper That Didn't Cut
In my first year (2018), I was tasked with sourcing materials for a run of 500 custom greeting cards and 200 holiday figurine-style place cards. I went all-in on a premium machine—a brand I trusted from the trade shows. I budgeted $300 for the machine and about $200 for paper.
I didn't budget for the learning curve.
The machine I chose used a standard letter-size platform. I bought a “premium” 80 lb cover cardstock because the description said it was “thick and rigid.” It seemed perfect. The result? The machine wouldn't feed it. The intricate die cuts for the figurine arms tore. The greeting card bases had ragged edges. We had to hand-trim 500 pieces.
Cost of that error: $450 in wasted paper, $200 in overtime labor, plus a 1-week delay on delivery.
That's when I learned about the relationship between machine specs and material. A standard letter-size machine (like many entry-level models) has a specific intake gap. It's often about 1-2 mm. 80 lb cover (which is about 216 gsm) can be too thick if it’s a tight weave stock. Meanwhile, 65 lb (176 gsm) cardstock—designed for intricate dies—cuts like butter.
People think expensive vendors deliver better quality. Actually, vendors who deliver quality can charge more. The causation runs the other way. I was paying for a premium machine but using the wrong paper, and blaming the machine.
Industry standard note: Paper weight equivalents are approximate. 80 lb text = 120 gsm (good for flyers), 80 lb cover = 216 gsm (business card weight). For intricate dies, 65-80 lb cover (176-216 gsm) is the sweet spot for most machines.
— Standard paper conversion tables
The 'Mini' Machine Trap: Where People Overlook the Limits
Most buyers focus on the per-unit cost of a Spellbinders mini die cutting machine and completely miss the compatibility issue. A mini machine is brilliant for small dies and accent pieces. It's fast, portable, and cheaper.
The question everyone asks is: “Can this mini machine cut a full A2 card?”
The question they should ask is: “Can this machine cut multiple passes for a layered holiday figurine without realigning?”
The assumption is that a mini machine is just a smaller version of a big one. The reality is that the pressure mechanism, roller width, and gap tolerance are fundamentally different. A mini machine has less leverage. It struggles with heavy cardstock and thick stack dies. It excels at single-layer die cuts on 60-80 lb paper.
I bought one for quick prototyping. Sounded smart. Then I tried to run a 5-layer holiday figurine design. The machine didn't break, but the layers were misaligned by 1/8 inch on the third pass. Wasted 20 sheets of $1.50/sheet cardstock.
That was a $30 mistake that took 20 minutes. Small, but it proved the point: Understand the friction.
The 'What Paper' Puzzle: The Only Question That Matters
If you search for “what kind of paper is used for scrapbooking,” you’ll find 100 different answers. The real answer is: It depends on your end product.
For a corporate client ordering 1,000 branded greeting cards to be shipped in bulk, you cannot use the same paper a hobbyist uses for a single page layout. Hobbyists use 12x12 inch 65 lb cardstock. That’s too flimsy for a stand-alone card that needs to be mailed. For a card that stands up, you need 80-100 lb cover (216-270 gsm). But that thick paper may not cut well in a Spellbinders mini die cutting machine.
Here’s the counter-intuitive tip: Buy the paper that matches the machine's ideal thickness range, then talk to the client about the aesthetic trade-off.
Most buyers run the process backwards. They see a beautiful greeting card design, then try to order the thickest paper possible to feel premium. Then they struggle with the production and blame the maker. Better to use a laminated 80 lb cover stock that cuts perfectly than a 110 lb board that jams.
For scrapbooking (layering papers on a page): 65 lb (176 gsm) is the standard because it's lightweight enough to layer without bulk but strong enough to hold a shape. For holiday figurines (3D stands): 80 lb cover (216 gsm) is usually the minimum. For mini machines: Stick to 60-80 lb text weight (90-120 gsm) for complex cuts.
Counter-Argument: “But My Needs Are Standard”
I hear this from procurement managers: “We just need standard greeting cards. Nothing fancy. We don't need to experiment.”
I get it. You want a plug-and-play solution. Use a Spellbinders machine. Use a standard greeting card die. Buy 80 lb paper. Done.
Not quite. “Standard” doesn't mean “foolproof.”
Standard 80 lb cover stock has a surface texture. Matte, linen, smooth. A smooth cardstock will cut differently than a linen texture. A holiday figurine die with fine detail on a linen cardstock will tear at the edges because the fiber is stressed differently. I learned this the hard way in March 2023 when a “perfectly standard” reorder of 300 holiday figurine stands resulted in 40% defects because the supplier changed paper grain without telling us.
The cost of that was about $190 in replacements. But the bigger cost was the client trust.
People think rushing saves time. Actually, planning saves time. The causation runs the other way. You save time by slowing down to test materials first.
My Current Workflow (With a Final Note)
I don't blindly buy into the “newest machine” hype anymore. I have a Spellbinders machine on my desk (the Platinum 6, for the record). I also have a mini machine for job-specific tasks. And I maintain a database of paper behavior for each client’s requirements.
Here’s what I tell new buyers: Don't buy a machine first. Buy the paper sample pack first.
Buy a pack of cardstock from a reputable supplier (like Neenah or Cougar). Test it in the Spellbinders mini die cutting machine if that's your target. See if it cuts cleanly. If it doesn't, you’ve just saved yourself a massive headache.
I went back and forth between the standard and mini machine for three weeks. The standard offered scalability; the mini offered speed. Ultimately, I chose the standard because the holiday figurine orders were too intricate for the smaller platform.
Informed buyers are our best clients. I want you to ask tough questions about paper, about die tolerances, about machine pressure. An informed customer asks better questions and buys better solutions.
This information is accurate as of Q1 2025. The paper market changes, and machine specs evolve—especially with new Spellbinders christmas cards and dies coming out each season. Always verify current material recommendations before a big project.
Bottom line: Stop guessing. Start testing. Your greeting cards and holiday figurines will thank you.