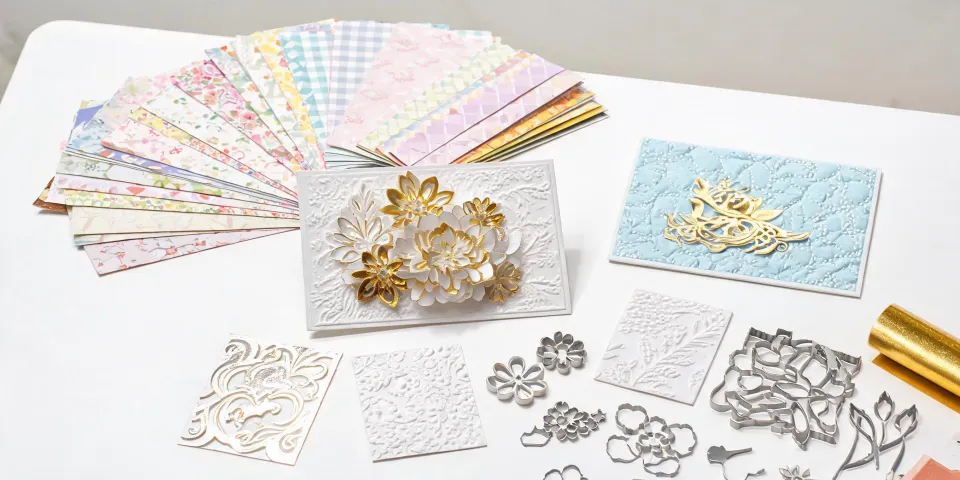
I've been managing procurement for a 14-person craft product wholesaler for six years. That means I've tracked every machine, die, and paper order we've placed, and I've made a few expensive mistakes so you don't have to. This isn't a tutorial on the perfect card layout or the trendiest Christmas ornament design. I'm not a designer, so I can't speak to that. What I can tell you is how to evaluate Spellbinders die cutting machines before you buy them.
Here is the five-step buying checklist we use. It's not glamorous, but it's what keeps our craft aisle from bleeding money.
Step 1: Buy into the system, not just the machine
The Spellbinders Scout die cutting machine gets a lot of attention because it's small, portable, and looks like an easy entry point. That's fair. But the machine itself is only one line in the purchase order.
Dies, cutting plates, pads, and replacement parts are the real system. When I first budgeted for a Scout, I focused on the machine and forgot to add dies. The machine arrived and sat on a shelf for ten days while we waited for the correct die sets to ship. That downtime could have been avoided if I had treated the purchase as a system instead of a single item.
Our policy now is simple: any machine purchase must include a die bundle on the same approval. It's not the most exciting procurement rule, but it works.
Step 2: Match the machine to your production volume
If you're cutting small scrapbook titles, tags, and greeting card elements, a compact machine like the Scout might be enough. If you're planning to batch-produce Christmas ornaments for a seasonal sale or a corporate gift order, think carefully about the machine's opening size.
I don't have hard data on which machine size is right for every business, because that depends on your product mix. But I can tell you what we found in our first year of tracking orders: most of our lost time came from trying to cut dies that didn't fit comfortably in the work area. The machine had enough power, but not enough space.
Before you choose between the Scout and the Platinum series, make a short list of the dies you want to use. Measure them. Then confirm the machine platform can handle them. This takes twenty minutes and saves you months of frustration.
Step 3: Learn the basic sandwich for metal cutting dies
If you're searching for how to use metal cutting dies for scrapbooking, the answer isn't complicated. The basic process we train our staff on is:
- Lay the cutting platform on the machine.
- Place the metal die on the platform with the cutting edge facing up.
- Put your paper on top of the die.
- Add the appropriate pressure plate.
- Run it through the machine, then reverse a few turns to release the cut.
That's the simplified version. Your model's manual may call for different plates or an extra layer, so read it. But the mental model is the same: die sharp side up, paper on top, pressure from the plates.
One thing I learned the expensive way: test on cheap paper first. Don't run a detailed die through a $1.20 sheet of specialty cardstock on the first try. Use scrap paper, adjust the sandwich, and cut the good sheet once you know the settings work.
Step 4: Check die and paper compatibility before you stock
Not every Spellbinders die works perfectly with every machine or every paper thickness. This is where buying gets tricky.
Take the Spellbinders Craft Stax line as an example. It's easy to look at a themed collection and assume it will sell itself. Maybe it will. But if the collection doesn't match the machine sizes and die sets you already carry, it becomes shelf clutter instead of inventory.
When we consider adding a new product line, we run this checklist:
- Is the die size within the machine's working area?
- Is the die designed for steel-rule die cutting?
- Do we have enough cutting plates and mats in stock?
- Does the paper weight match the die's intended use?
The last one is the most common miss. A die can cut 80 lb cardstock beautifully but tear 200 lb paper. We found that out after a customer complained about a product we'd stocked without testing the full supply chain. Now we test every new die with the paper we plan to sell alongside it.
Step 5: Price the dies before you price the machine
A $200 machine is easy to approve. The first $30 die set is also easy. Then the second $30 die set arrives. Then the seasonal bundle. Before you know it, the accessories have cost more than the machine.
Here's a real example from our own system. In 2023, I compared two setups for a holiday ornament project. Machine A was roughly $180. Machine B was about $300. The numbers said Machine A was the obvious choice. But my gut said Machine B would handle the work more reliably, especially for batch production.
Looking back, I should have included a full year of die purchases in that comparison. The $120 difference between machines was tiny compared to the $740 we spent on themed dies that season. The dies were worth it, but only because the machine could handle them efficiently. If I'd bought the cheaper machine, we would have paid twice in lost time and rework.
The machine is not the project. The project is the dies, the paper, the envelopes, the packaging, and the labor. Calculate the total cost of producing one Christmas ornament or one greeting card, not just the cost of the machine.
Common Mistakes I Still See
I'm not a craft expert, and I still make mistakes. These are the ones that show up in our orders and in other small buyers' carts.
Buying for the "someday" project
Don't buy a machine for a product line you don't make yet. An idle machine occupies shelf space and becomes a sunk cost. Buy for the next 60 days, not for a dream.
Ignoring greeting card postage
If you're selling greeting cards, the machine is irrelevant until the card fits in an envelope. According to USPS (usps.com), First-Class Mail letters (1 oz) cost $0.73 as of January 2025, and letter rates come with size and thickness limits. Once a card is too thick or too rigid, you're paying a higher postage rate, which changes your margin.
I'm not a mailing expert, so check the current USPS Business Mail 101 page for exact thresholds. But from a purchasing perspective, card thickness and envelope size are production decisions, not afterthoughts.
Not tracking dies as inventory
I wish I had tracked die usage from our very first order. What I can tell you anecdotally is that after we started tagging dies in our inventory system, our reorder decisions got much easier. We now know which holiday die sets actually paid for themselves and which ones are just sitting there.
Overestimating the all-in-one solution
To be fair, many crafters use one machine for everything. But for a business, a clear workflow matters more than a long feature list. If a machine or die set doesn't fit into your production flow, it probably isn't a good buy for you.
The best vendors know their limits, and I'd rather work with a machine and die system that does one thing reliably than one that promises everything and requires constant troubleshooting. That goes for equipment, and honestly, for suppliers too.
That's the checklist I use. It isn't glamorous, but it's the difference between a craft budget that grows and one that keeps needing emergency revisions. If you're just starting, buy less than you think you need, track everything, and test the machine with the dies you actually plan to use.