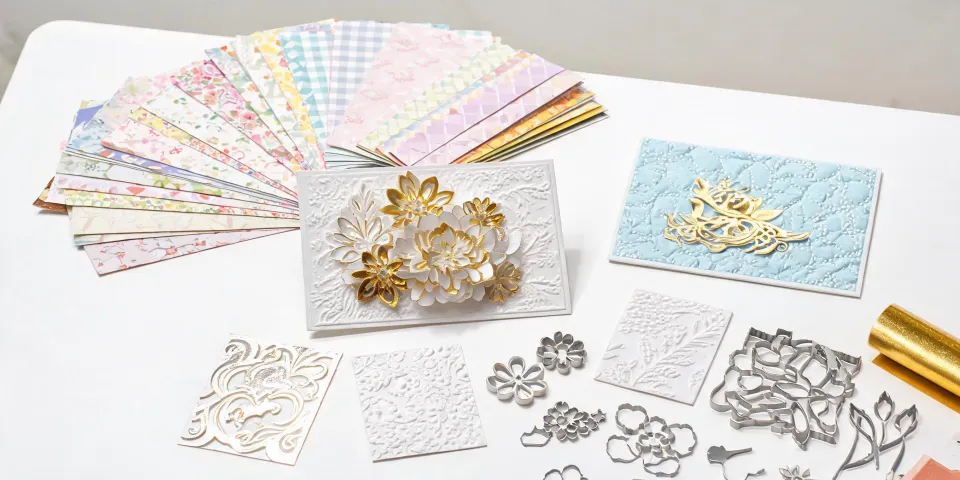
Last July, our 30-person gift company signed a contract that looked fantastic in the boardroom and terrifying in the production room. A major retail client ordered 2,000 holiday gift boxes, each one requiring a Christmas ornament, a small holiday figurine, and a matching paper craft insert. The deadline was eight weeks. The margin was healthy, but only if we hit the date without expensive overtime.
I handle procurement for the company. I've managed our production and equipment budget for six years, which means I've reviewed every purchase over $500 and most of the ones under it. I've also watched a few 'bargains' turn into costly mistakes. So I have a habit of running total cost of ownership (TCO) numbers before I approve anything.
Our problem: we didn't own a die cutting machine. In previous seasons, we outsourced die cutting to a local print shop. For this order, the print shop quoted us $6,200 and couldn't commit to the holiday cutoff. That made in-house production a strategic decision, not just a cost-saving one. Manual die cutting is still fine for one-off prototypes, but for a run of 2,000, you need automation.
The First Quote Looked Like a No-Brainer
I reached out to four suppliers. Two came back with actual line items. The first recommended an unnamed budget die cutting machine at $699. The second recommended a Spellbinders cutting machine bundle at $1,299. On paper, the difference was obvious. $600 is a real gap when your approved equipment budget is $12,000.
I was ready to buy the cheap one. The sales rep made it sound perfect: chipboard, kraftboard, magnetic sheets, all your paper craft needs covered. Then I sat down with my TCO spreadsheet, the same one I've used for every equipment purchase since 2019, and looked a little deeper.
The Fine Print Wasn't in the Fine Print
The budget machine required proprietary cutting plates. A starter set of six plates: $380. It also needed an adapter to handle 8.5 x 11 inch cardstock, since we planned to run 250gsm paper. Add $120 for shipping and the adapter. The total went from $699 to $1,199 overnight.
That still left Spellbinders $100 higher. But the difference was no longer the no-brainer it had looked like an hour earlier.
I'm not a mechanical engineer, so I can't speak to the tolerances or blade alignment specs. What I can tell you from a procurement perspective is this: when a manufacturer lists mandatory add-ons as 'recommended accessories,' that's a red flag. It means the quoted price isn't the working price.
The Test Run That Changed the Decision
Instead of trusting the spec sheets, we requested demos from both suppliers. The budget machine arrived first. Our production lead, Dana, ran 50 sheets of cardstock through it with a snowflake die. Sixteen sheets jammed. Eleven came out with partial cuts. Every piece had to be peeled from the die by hand, a slow, tedious job that eats labor hours like candy.
Dana summed it up in one sentence: 'If this machine runs our whole holiday order, nobody's going home before February.'
When the Spellbinders cutting machine showed up, we ran the exact same test. The first pass was clean. No jams. The die released easily. We ran another 50 sheets just to make sure it wasn't luck. Same result. I want to say the waste rate was under 2%, but I don't have the QC log in front of me, so don't quote me on the exact figure.
That was the turning point. We called the owner and the finance director into the production area. Dana showed them both machines and the stack of partially cut snowflakes. Then she ran a clean sheet through the Spellbinders while they watched. The finance director approved the purchase on the spot.
The Real Cost of 'Cheap'
Let's do the math that mattered at the end of the month. The budget machine was $699. Add the mandatory plates at $380, plus the adapter and shipping at $120. Then add the rework labor from the test run. Dana's time isn't free, and we tracked about $360 in extra hours. That brought the budget option to roughly $1,559.
The Spellbinders bundle was $1,299, including shipping and a starter die set. We didn't need any extra plates for our first production run. So the total was $1,299. The 'cheap' option cost us $260 more, and it produced worse output.
Here's the kicker: even if the budget machine had performed perfectly, it was slower. Dana finished the first 500 ornaments in three days. She estimated the budget machine would have taken eight days for the same batch, assuming no jams. When you're three weeks from a holiday deadline, speed isn't a luxury. It's the whole game.
Christmas Ornaments, Holiday Figurines, and a Client Visit
We ended up producing 2,000 ornaments, 1,200 holiday figurines, and a few hundred paper craft insert cards in-house. The machine ran daily for three weeks. It handled chipboard for the figurine bases, kraftboard for the ornament layers, and even a thin acetate sheet for the gift box windows. We missed zero deadlines.
One of the best moments came in early September, when the client visited mid-production, watched the machine run for a few minutes, and asked if we could add 500 more boxes. Because the process was efficient, we could. And we did, without shifting the delivery date. That's what 'efficiency is a competitive advantage' actually means in practice.
Spellbinders paper crafts are a popular choice for a reason. The dies are sturdy, the alignment system works, and the cuts repeat consistently. For a small production shop, that consistency is worth more than a low initial price.
Plus, the die library is huge. We were able to test three snowflake variations and two star patterns without paying for custom dies. That saved us about $400 in tooling costs on this project alone.
The Lanyard Side Quest
I can't leave out the thing that made Dana happy.
During a short lull in production, she used leftover cardstock and a small Spellbinders snowflake die to make lanyard charms. Two passes through the machine, glue the layers together, punch a hole, slide it onto the badge lanyard. It took maybe two minutes per charm. Suddenly half the office was walking around with snowflakes on their chests.
So, if you're wondering how to make your lanyard cuter without spending money on custom lanyards: grab a die cutting machine, some chipboard scraps, and a small die. It's not a huge project, but it was a nice reminder that craft tools also do craft things.
What This Taught Me About Buying Equipment
Here's the procurement lesson I keep coming back to: the sticker price is not the total cost. Accessories, rework, operator hours, and missed deadlines all belong in your calculation. When a cheap machine fails at the moment you need it most, it stops being cheap really fast.
I should be clear about my own limits here. My experience is based on mid-range production runs. A few thousand units at a time. If you're running batches of 100,000 or more, your cost structure and machine choices will be different. I can only speak to what works for a small company like ours.
Here are the three questions I now ask before any equipment purchase:
- What mandatory accessories does this machine actually require, and what do they cost?
- How much operator time does it take to produce one acceptable unit?
- What happens to my cost structure if the machine jams or produces bad output?
As of January 2025, the base Spellbinders Platinum machine is listed around $499 on their site. Verify current pricing before you buy, since prices change, and bundles often pop up during holiday prep. Our full setup, with the machine, starter die set, and extra cutting plates, came to just under $1,300.
Bottom line: if you're on the fence about die cutting equipment, run the TCO before you make a final call. Ask about plates, adapters, jam rates, and operator time. In our case, the 'cheap' option would have cost us more and made us miss deadlines. The efficient one paid for itself in margin, and it made the lanyards cuter too. That was just a bonus.